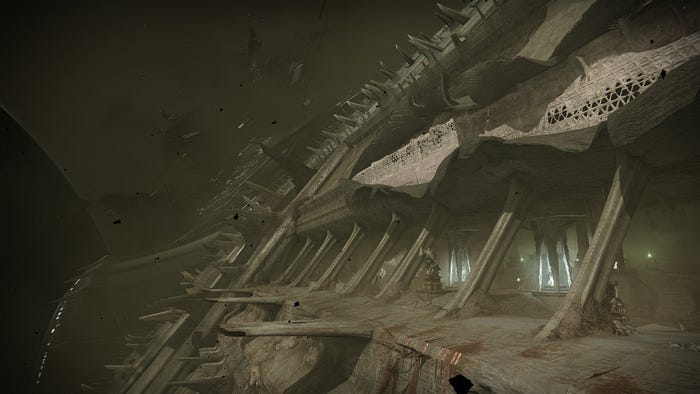
Welcome Back to the Dreadnaught!
Destiny 2’s newest Episode, Heresy Act 1, is here, bringing players face-to-face with the ominous Dreadnaught once more. The mighty Hive ship, now powered by the Echo of Navigation, has returned as a Destination, bringing with it the terrifying new enemy faction known as the Dread. If you’re wondering whether this episode is worth your time, we’ve got a full breakdown of what to expect, from story developments to gameplay mechanics and loot.
Story Recap With No Major Spoilers
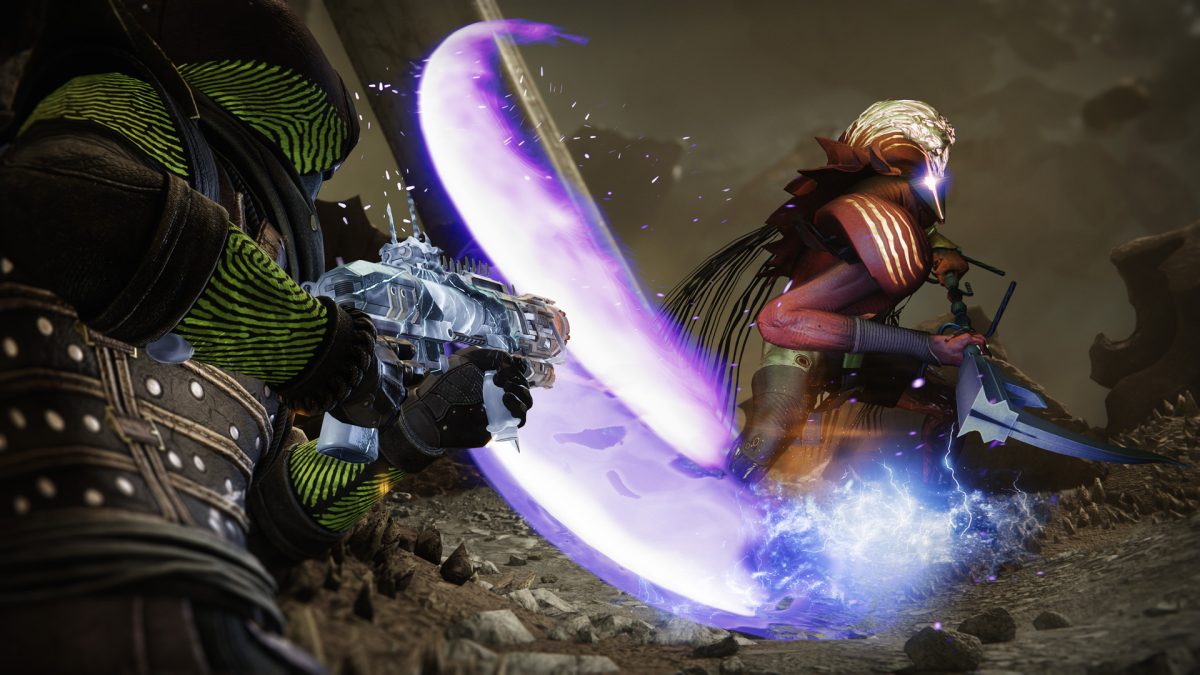
The Destiny 2 Heresy storyline is shrouded in mystery, but Bungie has made one thing clear: the consequences of The Final Shape are still unfolding. After a tragic loss aboard the Dreadnaught, a particular Guardian is out for vengeance, leading us into the depths of the Hive ship. However, our journey is not without peril — our connection to the Light is limited, forcing us to rely on unconventional means of survival.
A lost Hive Tome has mysteriously resurfaced, teasing greater revelations ahead. While we don’t yet have answers, the upcoming dungeon, Sundered Doctrine, set inside Rhulk’s Pyramid Ship, promises to shed light on the forces at play.
New Seasonal Activity: The Nether
The Nether is this episode’s flagship activity, challenging players to explore the Dreadnaught in a variety of ways. Whether you go in solo via Explore Mode or with a fireteam in the matchmade Arena Mode, expect a punishing experience that rewards strategy and perseverance.
Key Mechanics & Difficulty
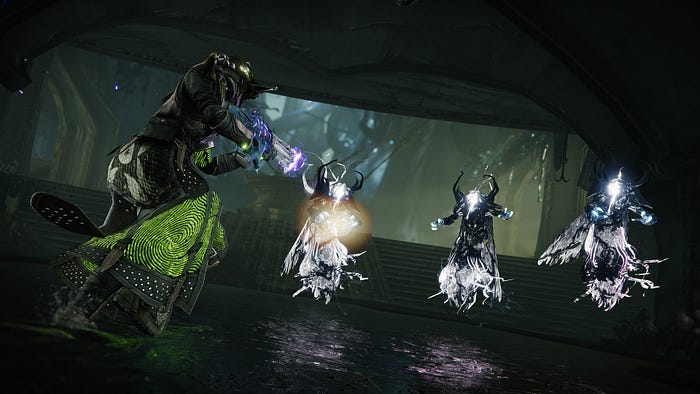
- No Health Regeneration: Players must rely on enemy healing well drops, weapons with healing perks (Heal Clip, Crimson), or glowing urns scattered throughout the Nether for sustenance. Besides your health not regenerating outside of combat, healing rifts and healing grenades and even supers won’t give you your health back. The glowing urns that exist in the Nether that can give you some much needed help such as healing wells, ammo, or even a revive token.
- Limited Revives: Even in fireteams, total revives are capped. For multiplayer it’s capped at nine — making cautious play a necessity.
- Stackable Boons: Players earn temporary buffs by completing side objectives, with stacks increasing their survivability and combat effectiveness.
I definitely see what Bungie was going for, making your health bar important again and putting strategy over the Titan rule of “just punch it harder”. You won’t necessarily have to stealth, but you will definitely be more mindful of your decisions aboard the Dreadnaught. To counter some of your innate weaknesses, the activity will give you a boon, or perk, each time you complete a challenge. These challenges can be found all over the Nether. They can range from killing a high value target to tracing a path that Toland the little glowing whisp paths out for you. You also get boons for each main challenge objective you complete. You will either get one or a choice to choose one from three. Each of these boons can be stacked up to 10 times, but odds are if you are just getting started with the episode you won’t get more than 15–20 total boons per run.
The objectives are as follows: Disrupt three rituals, kill a boss, move to new area, disrupt three rituals, kill a boss, move to new area, disrupt three rituals, kill final boss, collect loot. During these objectives, keep your eyes out for any side objectives that can give you boons such as enemies dropping in from a blight or a wandering Dread yellow bar. This will help your survivability. On my first run, I died after the first boss, but on my second run I made it all the way through to the activity’s end, so you get the hang of it after a bit.
How to Complete the Nether — Detailed Encounter Breakdown
Each Destiny 2 Nether run consists of structured encounters that require completing objectives before facing increasingly difficult bosses.
Core Objectives:
- Disrupt Three Rituals — Mechanics vary but can include depositing Dark Shards, standing in Hive Circles, or eliminating Taken Hive Witches.
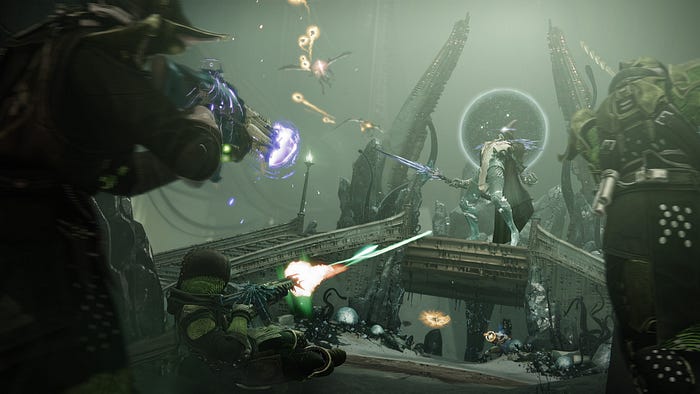
- Defeat a Major Boss — Unique mechanics are involved, such as Husk-healing Subjugators and health-draining Tormentors.
- Move to the Next Area — Expect environmental hazards and additional enemy waves.
- Clear Three Major Bosses to finish the Activity
Detailed Encounter Mechanics:
Disrupt the Ritual — Objective Variants
- Collect Dark Shards and Defeat the Tormentor: Look for yellow-orange beams of light marking the shards. Collect them while fending off enemy waves and deposit them into a Blight post if present. Take care of the Tormentor and destroy the blight (if there is one) to end the encounter.
- Eliminate Taken Hive Witches: A straightforward encounter requiring players to defeat three yellow-bar Hive Witches and clear the Blight.
- Claim the Hive Ritual Circles: Two green glowing circles are on the ground. You will have to stand in them to power them up to 100% and complete the objectives. Waves of Husks and Dread will spawn in to stop you and attack from all sides. Once both are done, you may also need to destroy glowing hive egg sacks or blight depending on which area you are in.
- Destroy Hive Eggs Around the Experiment Pods: This pops up in one particular area. During this you have to destroy all the glowing eggs in a tunnel with experiment pods on either side. Every couple will spawn a wave of enemies including two yellow bars.
- Eliminate the Shielding Twins: For this, two Yellow Bar Subjugators will spawn in. One will be shielded while the other won’t be. When you take out 30% of the unshielded one’s health, the shield swaps to them, allowing you to damage the other one. This goes back an forth until you have eliminated them both. You may have to destroy a blight after.
- Activate Darkness Nodes: I’ve only seen this once, but it is similar to collect the dark shards. You activate each of the dark pyramid nodes, spawning in enemies, until they are all activated. Destroy the blight after.
- Dunk the Blight: For this one, there will be balls of blight you can pick up around the area. After picking one up, it will show you where to dunk it and spawn in enemies. Dunk all the balls to finish this encounter.
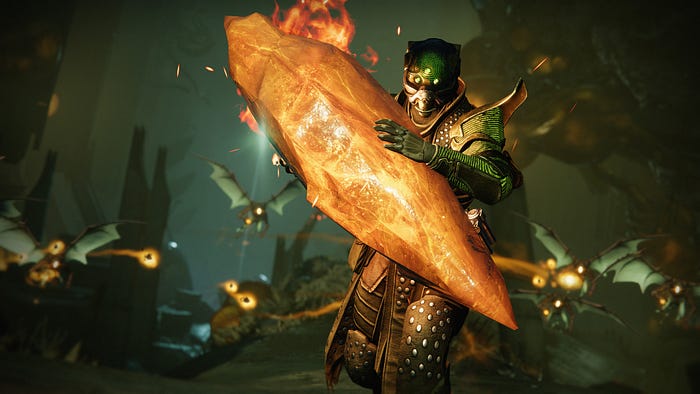
- Carry the Fire Shard: There will be a fire shard sitting in a bowl for you to pick up. Once you have grabbed it, enemies will spawn in. As it is a heavy object, your movement speed and jumping is limited. If you drop it, it goes back to its original bowl after some time. The enemies you defeated do not respawn if you go back to pick it up again.
- (Multiplayer Only) Destroy Blight to Prevent Wipe: When playing the Nether with others, a curse can happen and a wipe timer appears. To prevent wiping, destroy all three blight before the timer ends. As a reminder, you can only damage the blight while you are inside it.
The Bosses and their Mechanics
All Major Bosses in the Nether and How to Beat Them
- The Ogre has its health divided in two. After the first half is gone he will shield. In order to destroy the shield, destroy the glowing egg sacks around the area to go back to damage. Beware of invisible snipers.
- The Subjugator has its health divided into three portions. After you take out the first chunk, he will head up some stairs with a shield. During this time, many Husk will spawn and run up the stairs to heal him. After this, you can go back to taking out another chunk of his health until he does this again. Same thing as before, he will attempt to heal with the husks. Then finish him off. I’ve found hiding and shooting from the right and the left side behind a half wall provides fantastic cover and line of sight for this.
- The Tormentor will target a team member and focus his attacks on them. I learned the hard way to avoid his jump attacks, as it will one-shot you. At 2 points during the battle, he will heal by connecting himself to glowing white grim which you can find by following the white connector and eliminating them. Taken psions will spawn throughout that turn into shadow hounds when eliminated.
Hidden Secrets in the Nether
The Nether is full of hidden mechanics and secrets that can reward players with a chest and a boon. Here are some of the most notable ones:
- “Something strange is near”: After defeating the Ogre boss, you may see this message. Look around for four Cabal corpses hanging from tentacle-like surfaces. Shooting them down will grant you a hidden chest.
- Ghost Icon Pulsing in the HUD: If your Ghost icon pulses in the top right of your screen, there’s a secret nearby. Pull out your Ghost and it will look in the direction of the hidden secret, such as lighting up lamp posts, following Toland, or revealing glowing Hive egg sacks.
- The Ravenous: There is a respawning Hive Thrall named “The Ravenous” that you may encounter. If you lead it to a pile of worms, it will eat them and become an acolyte. If instead of killing it, you let it flee, it will lead you to another pile of worms and turn into a Knight. Kill the Knight to receive your reward. There are some areas, such as the central platform where you fight the Subjugator, where invisible platforms will spawn when you pull out your ghost. Follow these to reap your reward.
- Invisible Platforms: Some locations, like the central platform where you fight the Subjugator, have invisible platforms that appear when using your Ghost. Follow them to uncover a hidden chest.
- Worm Collectible: In an in-between area with bridges and platforms, a glowing Hive worm collectible can be found beneath one of the platforms. This was the first one I found. There are 8 total Ravenous Wormspawn to find. Happy hunting!
- Glowing Green Savathûn Markings: As of writing this article, only two have been discovered. There is a glowing rune of Savthun hovering in the air to mark these locations. When you stand on it, you will hear some voice lines from the Witch Queen herself.
Final Thoughts
After five hours with Heresy Act 1, including completing the first week’s story and multiple Nether runs, it’s clear Bungie is prioritizing player challenge and strategic gameplay in Destiny 2. The removal of passive health regeneration forces players to engage with mechanics rather than brute-force their way through encounters.
The weekly story cadence hints at deeper revelations ahead, and with Sundered Doctrine releasing soon, we’re on the brink of uncovering what truly lies at the heart of the Dreadnaught’s resurgence.
Stay tuned for our follow-up as we dive into loot, secrets, and the dungeon later this week!

Join the Discussion & Stay Updated
Want to stay up to date on Destiny 2: Heresy? Subscribe to our newsletter, follow our socials, and join our Discord to share discoveries and team up for activities! You can find Ech0shi on X, Twitch, and Youtube.